
TRG Info and Advice

Okonomi-yaki and Monja-yaki
History
It is said that okonomi-yaki and monja-yaki originated in the form of “funo-yaki,” which Sen-no-Rikyu prepared in the Azuchi-Momoyama era. Sen-no-Rikyu was associated with “ocha” (green tea) and eventually became a “chasei” (Great Tea Master). So, yes, funo-yaki was a Japanese cake served with tea.
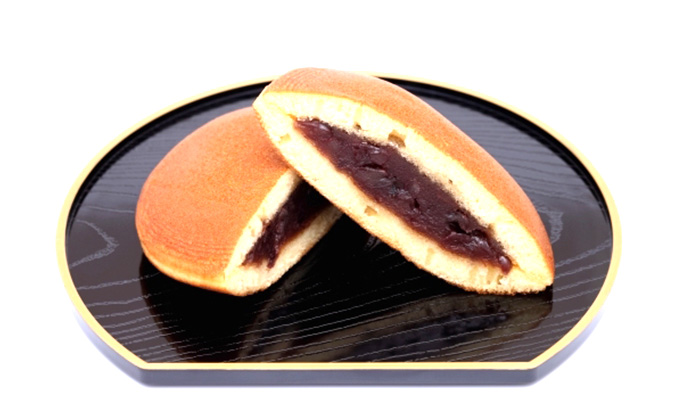
From the late Edo era to the Meiji era, the funo-yaki developed into the “sukeso-yaki” (a crepe-like pancake) which was wrapped around red bean paste instead of miso, and sold at stalls. This “sukeso-yaki” is said to be the origin of both “okonomi-yaki” and “dora-yaki.”
It is interesting that the savory okonomi-yaki and sweet dora-yaki have the same origin, isn’t it?
Then, in Tokyo during the Meiji era, “monja-yaki” and “dondo-yaki” were born, which are similar to the okonomi-yaki we know now.
It was around this time that “okonomi-yaki” was developed from a confectionary into a staple food. Vegetables and other savory items came to replace the red bean paste, and okonomi-yaki grew out of its sweet, cake-served-with-tea image.
It is considered that okonomi-yaki became something of a staple food at the time of the Great Kanto Earthquake. Because it can be made easily by adding various vegetables to a simple batter and then grilling, okonomi-yaki won the reputation of a dish both convenient and nutritious during those difficult days.
What is "okonomi-yaki"?
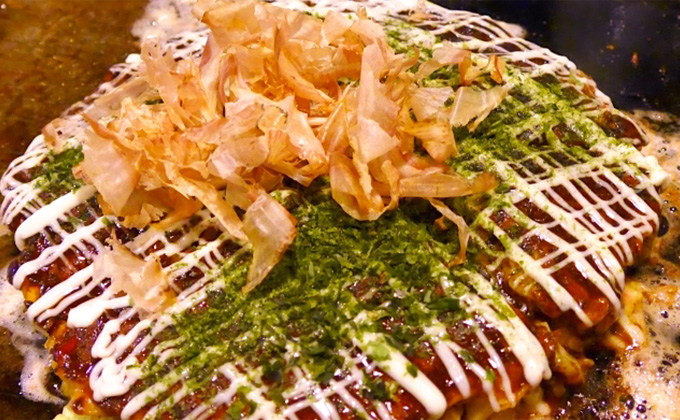
Okonomi-yaki is a dish made by using wheat flour mixed with water as a batter, and adding vegetables, meat and seafood. This mixture is then grilled on an iron plate and seasoned with sauce, mayonnaise and powdered green laver.
Grilling methods and ingredients vary from region to region, so there are various ways of making okonomi-yaki, such as Kansai-style and Hiroshima-style.
How to Prepare Okonomi-yaki
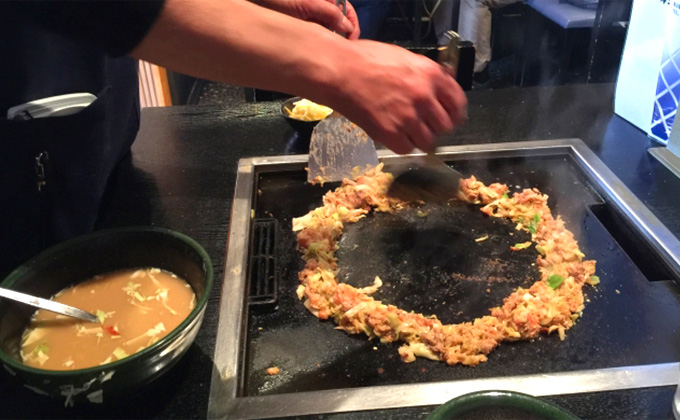
Spread oil over a heated iron plate.
Use flour mixed with water as a batter, then add vegetables, meat and seafood. Grill this mixture on the iron plate. Add your choice of toppings such as sauce and mayonnaise.
① Mix ingredients in a bowl.
Mix wheat flour with water to make a thin batter, add cut vegetables and egg to the mixture and mix everything together.
【Ingredients (optional)】
・Cabbage
・Tempura bits
・Green onion
・Egg etc.
※Adding grated yam to the batter makes the finished product fluffy.
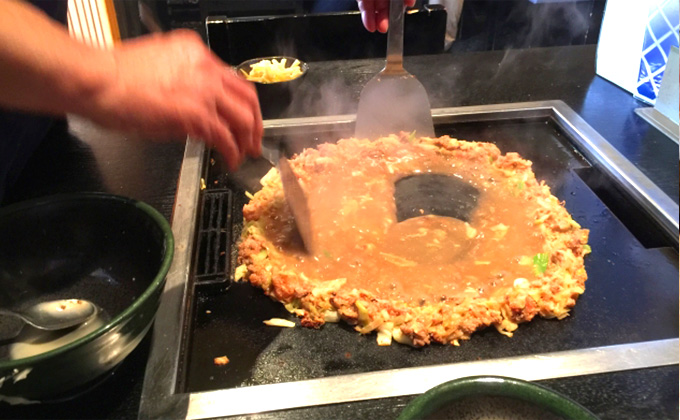
② Grill
Spread oil over a heated electric griddle (or a frypan), spread and flatten the mixture to the thickness of about two centimeters, and grill it for about three minutes.
③ Top with pork belly slices.
After three minutes have passed, place some pieces of pork belly on top.
(The amount of the pork belly depends on the size of the okonomi-yaki.)
④ Turn over the okonomi-yaki.
Turn over the okonomi-yaki and cover it with a lid. Grill it, covered, for about four minutes.
⑤ Turn it over again.
After the four minutes have passed, take off the lid, turn it over again and grill it, uncovered, for about three minutes.
※While grilled, the inside should have been cooked.
※Grilling uncovered will allow any remaining liquid to evaporate.
⑥ Ready to eat.
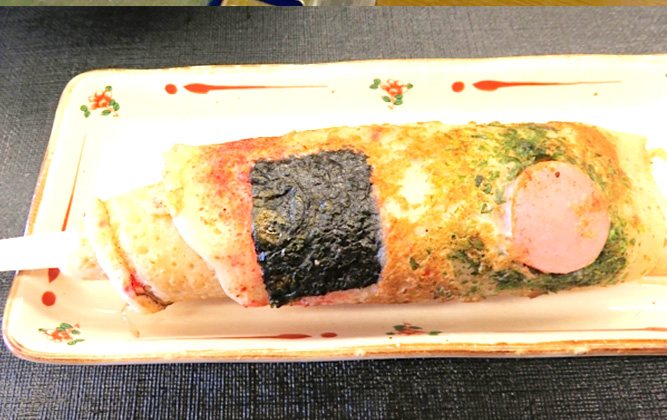
Add your choice of seasonings, toppings and condiments, such as sauce, mayonnaise, dried bonito shavings and dried green laver, before cutting and serving your okonomiyaki.
Main Seasonings
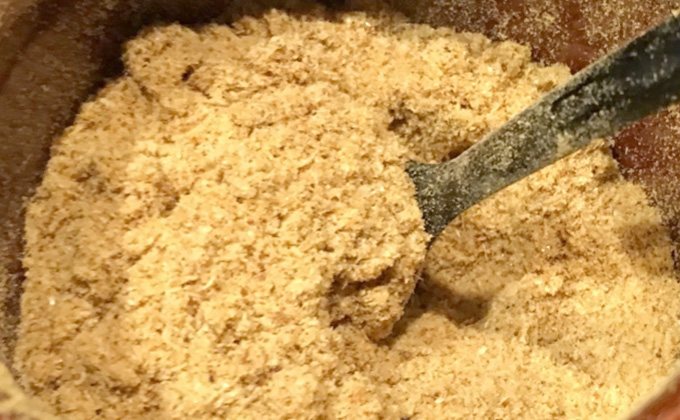
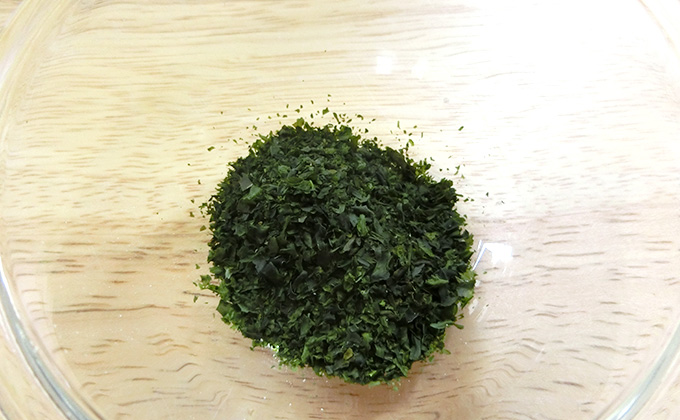
Sauce (extra thick sauce), mayonnaise, red pickled ginger, powdered dried bonito (powdered fish), dried bonito shavings, sakura shrimp, powdered green laver, tempura bits, and others, are commonly used as toppings and seasonings.


What is “Monja-yaki”?
“Monja-yaki” is a kind of “flour dish,” with wheat flour used as the main ingredient, which is eaten after being cooked on an iron plate with other ingredients. It is often called simply “monja,” and in some regions it is called “monji-yaki,” “bottara” or “oino.”
How to Prepare “Monja-yaki”
Mix all the ingredients with the batter. Then, spread just the ingredients, first, over the iron plate, and after they have been warmed, pour on the batter. After the water has evaporated, press the ingredients with spatulas and brown them a little. When part of the monja-yaki has become crispy, it’s ready to eat.
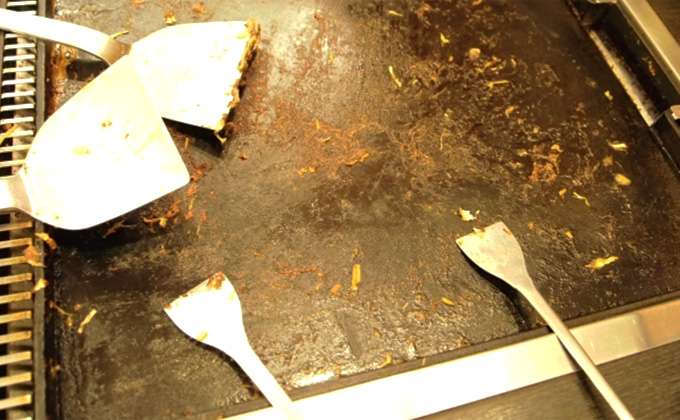
The spatulas used to manipulate the monja-yaki on the iron plate is called a “hagashi,” a “teko,” or a “kote.” It is 2 to 3 centimeters wide and 10 to 15 centimeters long. (It has the same shape as a spatula for okonomi-yaki, but it is a much smaller size and made of stainless steel.)
① Mix ingredients in a bowl.
Mix wheat flour and Worcestershire sauce with lots of water, then add vegetables and other ingredients to the mixture and mix lightly.
【Ingredients (optional)】
・Cabbage
・Tempura bits
・Shrimp
・Squid etc.
② Stir-fry the ingredients.
Spread oil over a heated electric griddle. Scoop out and fry only the ingredients lightly.
③ Make an embankment and pour in the dough.
Make a donut-shaped embankment with the stir-fried ingredients and pour in the dough. When the dough has begun to simmer, mix it with the surrounding ingredients.
④ Ready to eat.
After spreading out your monja-yaki thinly on the electric griddle, and adding your choice of seasonings like dried green laver, it’s ready to eat.
※Unlike okonomi-yaki, monja-yaki does not get firm.
Main Seasonings and Condiments
Dried bonito shavings, powdered green laver, mayonnaise, etc.